

Using the QUIC.cloud CDN with WordPress
This article explains how to create a QUIC.cloud account and use the QUIC.cloud CDN with your WordPress site.
About QUIC.cloud
Section titled “About QUIC.cloud”QUIC.cloud is a Content Delivery Network (CDN) that caches both static and dynamic WordPress content. Unlike most CDNs that cache only static content, QUIC.cloud caches your entire site, including:
- Images
- CSS
- JavaScript
- The dynamic HTML pages themselves
Built on the LiteSpeed server stack, QUIC.cloud leverages LiteSpeed Cache’s Smart Purge technology to ensure your site serves the most current content while purging outdated content. Additional features include:
- Caching complex dynamic content with ESI (Edge Side Includes) support
- Prompt and accurate cache purging when content changes
- Low TTFB (Time to First Byte) at the network edge
- Average latency under 10ms in North America and Europe
- End-to-end HTTP/3 support
- Global coverage with 79 PoPs (Points of Presence)
Enabling QUIC.cloud
Section titled “Enabling QUIC.cloud”To use QUIC.cloud CDN with your WordPress site, create an account:
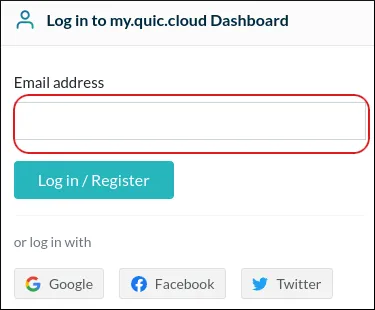
- Go to QUIC.cloud login
- Enter your email address and click Log in / Register
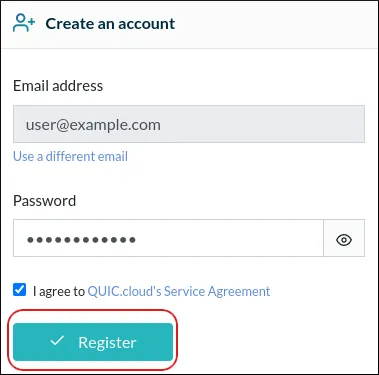
- Enter a password and select I agree to QUIC.cloud’s Service Agreement
- Click Register
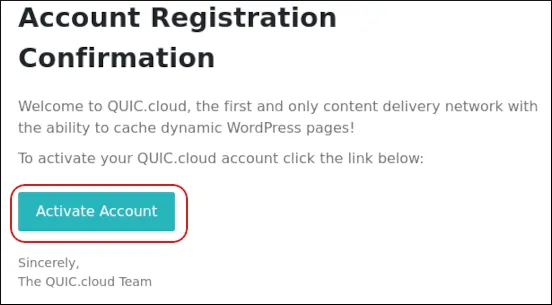
- Check your email for the validation message and click Activate Account
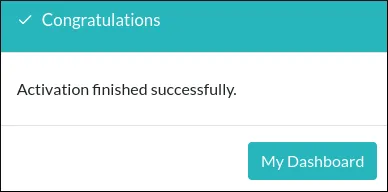
- Your account is now active
Linking Your WordPress Site to QUIC.cloud
Section titled “Linking Your WordPress Site to QUIC.cloud”Once your account is active, link it to your WordPress site:
- Log in to WordPress as an administrator
- In the left sidebar, click LiteSpeed Cache → General
- In the Domain Key section, click Request Domain Key
- Refresh the page, then click Visit My Dashboard on QUIC.cloud

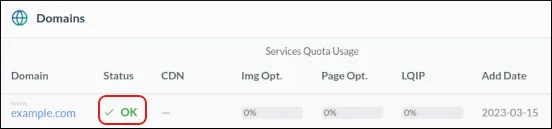
- Your QUIC.cloud dashboard opens, showing your domain with an OK status
More Information
Section titled “More Information”For further details about QUIC.cloud, visit https://www.quic.cloud.